How to provision a Node app on Amazon EKS using Terraform
I am writing this article to show you how to provision a Node app on Amazon EKS using Terraform. I got the idea from an interview for a Senior Node Backend Engineer position at an AWS company. The question is to create a Node app on Amazon EKS using Terraform. I had never used Terraform before, so I had to learn it from scratch. I found it very interesting and decided to write an article about it.
In this article, I am assuming you know about AWS EKS, Terraform and how to set them up. If you don't, I recommend you read about them before reading this article.
Below are some of the resources I used to learn about AWS EKS and Terraform:
- AWS Getting Started
- Quick configuration with aws configure (assuming there is no prior config, having "Quick configuration with aws configure" completed should suffice)
- IAM Authenticator
- Kubectl
- Terraform
The Question I Was Asked During the Interview
I was given one hour to finish it. The task goes thus:
- Provision an EKS cluster within a VPC (virtual private cloud) in AWS using Terraform
- Create a basic HelloWorld application
- Have your app up and running in EKS
- The deployed application should be accessible through the public traffic.
- Application could be developed with either Flask or Node
The Solution
So, I started by creating a folder terraform-provison-eks to encapsulate the files and scripts.
Create a variables.tf file
Open the new folder and create a file named variables.tf, add the following Terraform code to define our Terraform variables:
variable "region" {
  description = "AWS region"
 type = string
 default = "eu-west-1"
}
This file defines the region we will create the Amazon EKS cluster. The default region is eu-west-1.
Create a terraform.tf file
Next, create a file named terraform.tf and open it. Add the following content to the file.
terraform {
  required_providers {
    aws = {
      source = "hashicorp/aws"
      version = "~> 4.46.0"
    }

    random = {
      source = "hashicorp/random"
      version = "~> 3.4.3"
    }

    tls = {
      source = "hashicorp/tls"
      version = "~> 4.0.4"
    }

    cloudinit = {
      source = "hashicorp/cloudinit"
      version = "~> 2.2.0"
    }

    kubernetes = {
      source = "hashicorp/kubernetes"
      version = "~> 2.16.1"
    }
  }

  required_version = "~> 1.3"
}
This file defines the Terraform AWS provider, allowing Terraform infrastructure-as-code (IaC) to interact with the AWS cloud. Terraform will use the AWS provider from
hashicorp/aws.
Create a vpc.tf file
In the terraform-provison-eks folder, create a new file named vpc.tf. Open the new file and add the following content.
module "vpc" {
  source = "terraform-aws-modules/vpc/aws"
  version = "3.14.2"

  name = "Demo-VPC"

  cidr = "10.0.0.0/16"
  azs = slice(data.aws_availability_zones.available.names, 0, 3)

  private_subnets = ["10.0.1.0/24", "10.0.2.0/24", "10.0.3.0/24"]
  public_subnets = ["10.0.4.0/24", "10.0.5.0/24", "10.0.6.0/24"]

  enable_nat_gateway = true
  single_nat_gateway = true
  enable_dns_hostnames = true

  public_subnet_tags = {
    "kubernetes.io/cluster/${local.cluster_name}" = "shared"
    "kubernetes.io/role/elb" = 1
  }

  private_subnet_tags = {
    "kubernetes.io/cluster/${local.cluster_name}" = "shared"
    "kubernetes.io/role/internal-elb" = 1
  }
}
Terraform will use the AWS VPC module from
terraform-aws-modules/vpc/awsto create a VPC namedDemo-VPC. It will also create threeprivate_subnetswithprivate_subnet_tags. It creates threepublic_subnetswithpublic_subnet_tags.
Create an eks-cluster.tf file
In the terraform-provison-eks folder, create a new file named eks-cluster.tf. Open the new file and add the following content to configure the AWS EKS cluster:
module "eks" {
  source = "terraform-aws-modules/eks/aws"
  version = "19.0.4"

  cluster_name = local.cluster_name
  cluster_version = "1.24"

  vpc_id = module.vpc.vpc_id
  subnet_ids = module.vpc.private_subnets
  cluster_endpoint_public_access = true

  eks_managed_node_group_defaults = {
    ami_type = "AL2_x86_64"

  }

  eks_managed_node_groups = {
    one = {
      name = "node-group-1"

      instance_types = ["t3.small"]

      min_size = 1
      max_size = 3
      desired_size = 2
    }

    two = {
      name = "node-group-2"

      instance_types = ["t3.small"]

      min_size = 1
      max_size = 2
      desired_size = 1
    }
  }
}
Terraform will use the
terraform-aws-modules/eks/awsmodule to configure and provision the AWS EKS cluster. It will create at3.smallinstance type for theeks_managed_node_groups.
Up next, we will create main.ts file
Create a main.tf file
In the terraform-provison-eks folder, create a new file named main.tf.
Open the new file and add the following content:
provider "kubernetes" {
  host = module.eks.cluster_endpoint
  cluster_ca_certificate = base64decode(module.eks.cluster_certificate_authority_data)
}

provider "aws" {
  region = "eu-west-1"
  profile= "damisparks"
}

data "aws_availability_zones" "available" {}

locals {
  cluster_name = "demo-eks-${random_string.suffix.result}"
}

resource "random_string" "suffix" {
  length = 8
  special = false
}
This file defines the AWS Cloud availability zones and the AWS EKS Cluster name.
Now, let us create the outputs.tf
Create outputs.tf file
In the terraform-provison-eks folder, create a new file named outputs.tf. Open the new file and add the following content:
output "cluster_name" {
  description = "Amazon Web Service EKS Cluster Name"
  value = module.eks.cluster_name
}

output "cluster_endpoint" {
  description = "Endpoint for Amazon Web Service EKS "
  value = module.eks.cluster_endpoint
}

output "region" {
  description = "Amazon Web Service EKS Cluster region"
  value = var.region
}

output "cluster_security_group_id" {
  description = "Security group ID for the Amazon Web Service EKS Cluster "
  value = module.eks.cluster_security_group_id
}
This file defines the outputs to be displayed in your terminal after running the Terraform commands. Using the following files, Terraform will output the
- cluster_name
- cluster_endpoint
- region
- and cluster_security_group_id.
Let’s run the Terraform commands to create and provision the Amazon EKS cluster using Terraform. We will start with the terraform init command.
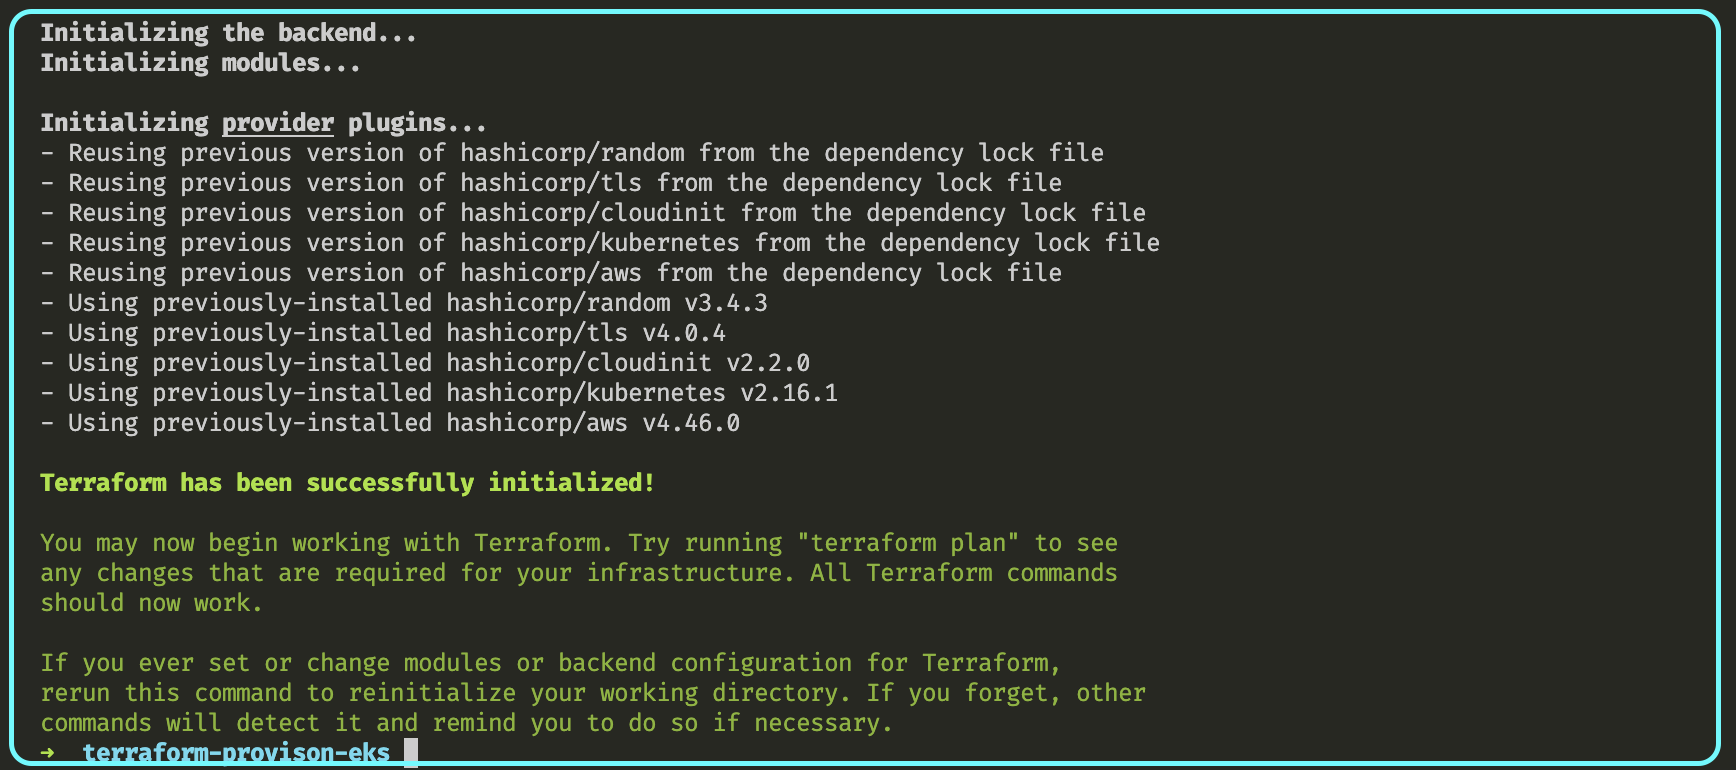
Terraform init command
This command will initialise the Terraform AWS EKS modules and the Terraform backend. It will download the modules from the Terraform registry. It will also download and install the AWS EKS provider plugins from the hashicorp/aws:
terraform init
The following will be output in your console. Your output may vary. However, this was my output at the time of writing.
Next, we run the terraform plan command
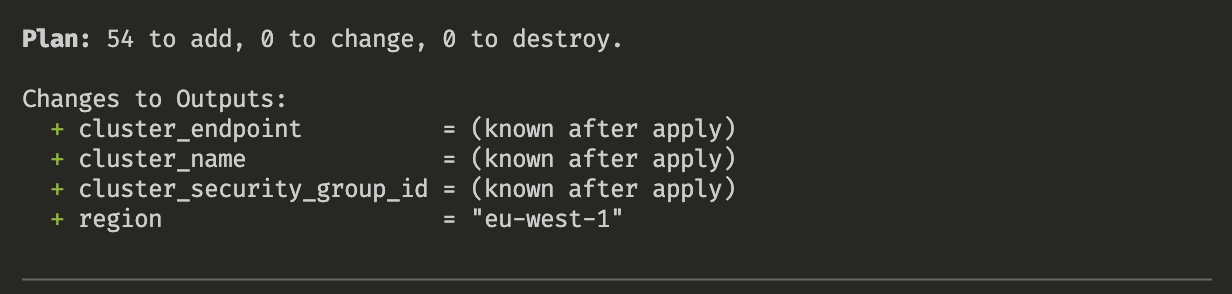
Terraform plan command
The terraform plan command shows the changes Terraform will make to your AWS infrastructure defined in the files before applying them. It helps you review and confirm changes before applying them.
terraform plan
The following will be output in your console. Your output may vary. However, this was my output at the time of writing.
Next, we will apply our terraform configuration
Terraform apply command
The terraform apply command provisions the AWS EKS Cluster and all resources defined in the Terraform files.
terraform apply
Terraform prompts for confirmation to provision AWS resources. Review and type "yes" to allow provisioning of AWS resources, including creation of an AWS EKS cluster. We will talk about the how to check the information o f your AWS EKS cluster in the next section.
Checking the information of your AWS EKS cluster
To view the AWS EKS Cluster information, type this command into your terminal:
kubectl cluster-info

Next, we will talk about how to visualise the resources using the AWS Management Console.
Visualise EKS cluster and resources using AWS Management Console
Log in to your AWS Management Console to view the AWS EKS cluster and resources. Kindly search for the following services and resources.
- AWS EKS Cluster
- Route Tables
- Internet Gateways
- VPC
- Subnets
The services should be visible.
At this junction, we must interact with our cluster using kubectl.
I assume you understand the Kubernetes cluster setup and how YAML files can be created to handle the deployment of pods and expose them to consumers. Moving forward, we’ll use the Kubernetes command-line tool, kubectl, to interact with our cluster.
Interacting With Your Cluster
Next we load the files and deploy them in the next section.
Create deployment folder
Here, create a new folder named deployment inside the terraform-provison-eks folder.
Inside the deployment folder, we create two files. First
Create a deployment.yaml file
Create a new file named deployment.yaml inside the deployment folder.
Add the following content in the file.
apiVersion: apps/v1
kind: Deployment
metadata:
  name: simple-node-app
  labels:
    app: simple-node-app
spec:
  replicas: 2
  selector:
    matchLabels:
      app: simple-node-app
  template:
    metadata:
      labels:
        app: simple-node-app
    spec:
      containers:
        - name: simple-node
          image: damisparks/simple-node # image to a simple node app i created
          ports:
            - containerPort: 80
This file used to define and manage the deployment of application pods within a Kubernetes cluster. It specifies the desired state of the application, including the number of replicas, container images, and other configuration settings.
Create a service.yaml file
Create a new file named service.yaml inside the deployment folder.
Add the following content in the file.
apiVersion: v1
kind: Service
metadata:
  name: simple-node-app
  labels:
    run: simple-node-app
spec:
  ports:
    - port: 80
      protocol: TCP
  selector:
    run: simple-node-app
The file is used to define how to expose and make a set of pods (typically managed by a deployment) accessible within a Kubernetes cluster. It defines the networking rules, such as port mapping, load balancing, and service discovery, for the pods.
If you are here, you made it to the last section. I credit your patience and persistence. That is awesome.
Loading and deploy YAML files
In this section, we load the files and deploy them. Run the following command. They are:
kubectl apply -f deployment/deployment.yaml
kubectl apply -f deployment/service.yaml
Finally, I added the last section to give useful commands.
Further Commands
kubectl provides a wide range of commands to interact with Kubernetes. The following are some basic commands that we can use to interact with our current cluster.
kubectl get pods- show the pods in the clusterkubectl describe services- show the services in the clusterkubectl cluster-info- display information about the cluster
Additional Reading
The following are some additional information on interacting with Kubernetes
Reference
The artilce wouldn't be possible without these references. I learnt a lot from them.
- Udacity AWS Developer Nanodegree
- How to Create an Amazon Elastic Kubernetes Service Cluster using Terraform
That is all guys. Thank you for reading through